Quilting
Ode to the 1930’s-block #8 & #9
Block #8 Pieced Flowers 12×12
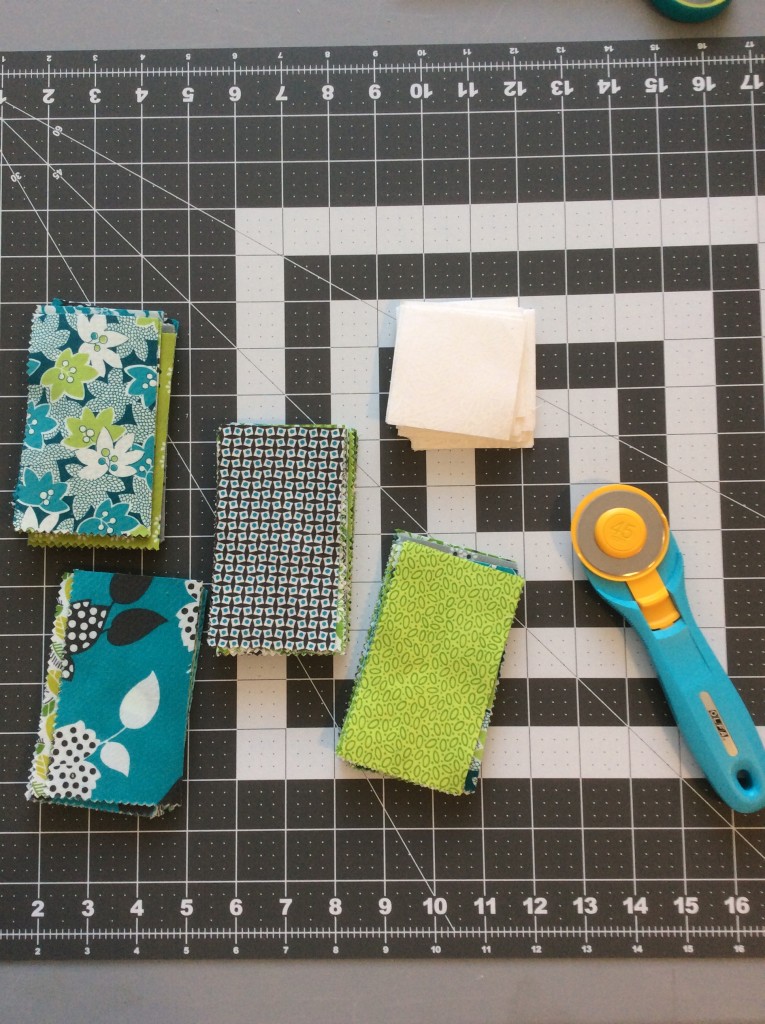
This is a combo applique and pieced block. With those flying geese pieced with the bias triangles like this designer loves, it was hard to get the pieced flowers straight, but the applique came out cute. Our blocks came out a little different sized and we are starting to get concerned about what will happen when we try to put this sampler together at the end. We’ll see how that works out, but that’s a long way down the road. [Read more…] about Ode to the 1930’s-block #8 & #9
Ode to the 1930’s-blocks #6 & 7
After a long hiatus including grandkid birthdays, brief vacations, and illness, the 1930’s quilt group is back on track and making blocks. We are continuing in numerical order and still making the biggest blocks.
Block #6 Godey’s Lady’s Book 12×12
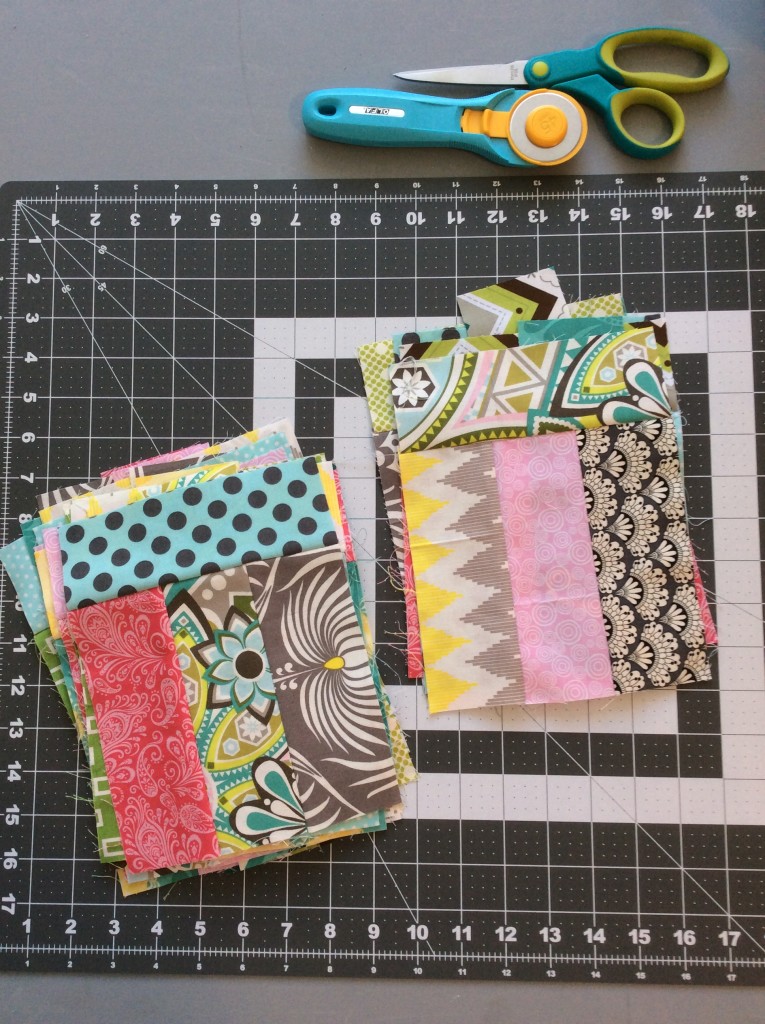
This block looks deceptively simple to piece, but as mentioned previously, this pattern uses no “easy” piecing techniques so all the triangles are pieced on the bias causing stretching and irritation. We worked over those yellow star points to keep them from undue stretching and warping. Grr. We strayed from the recommended color way by bringing in all those brights and we love them! We are tired of the pale pink, yellow, green theme and want some diversity so are slowly bringing in other colors. Our 1930’s quilt will definitely be more vibrant than the pattern. [Read more…] about Ode to the 1930’s-blocks #6 & 7
Latest quilting adventures & accidents
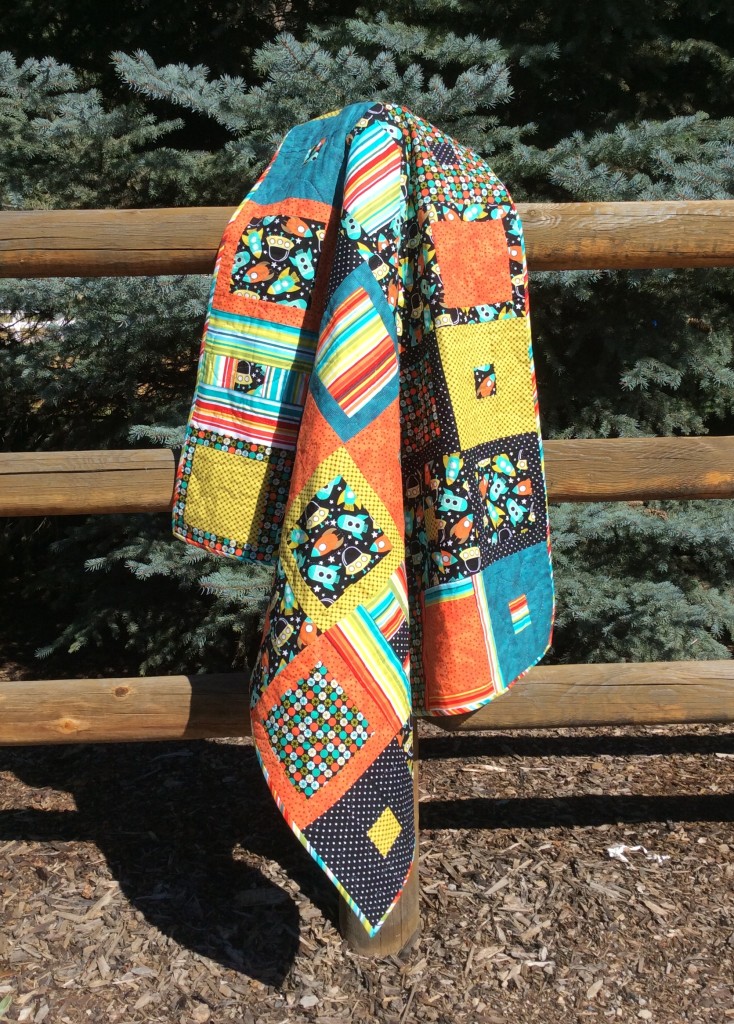
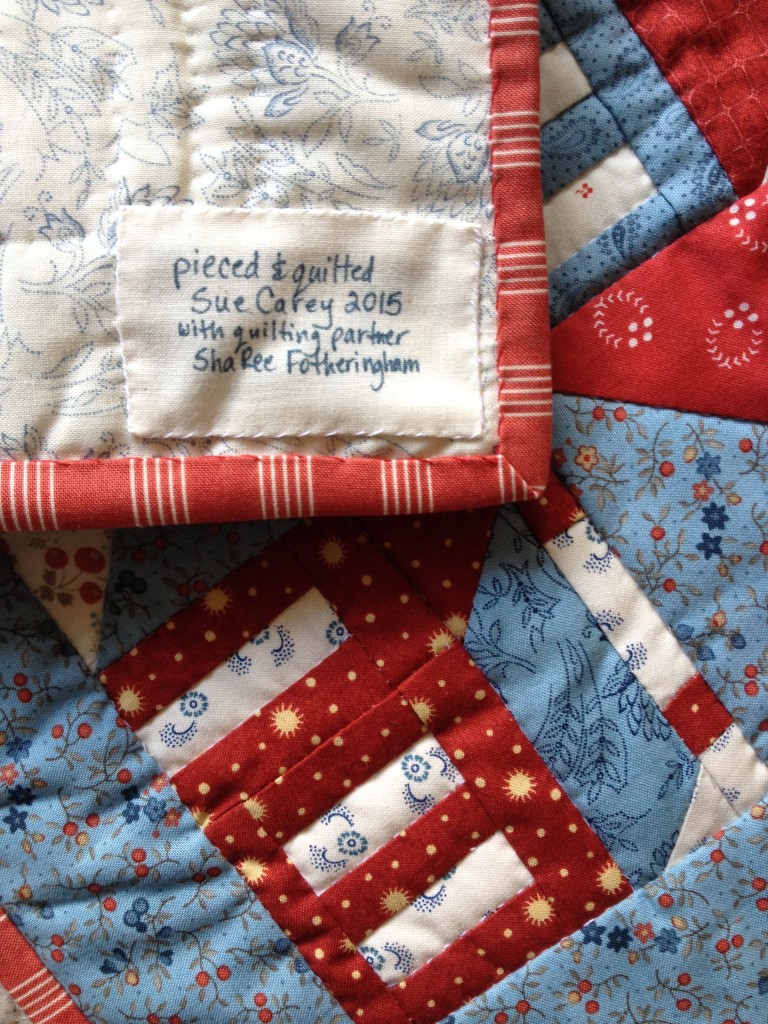
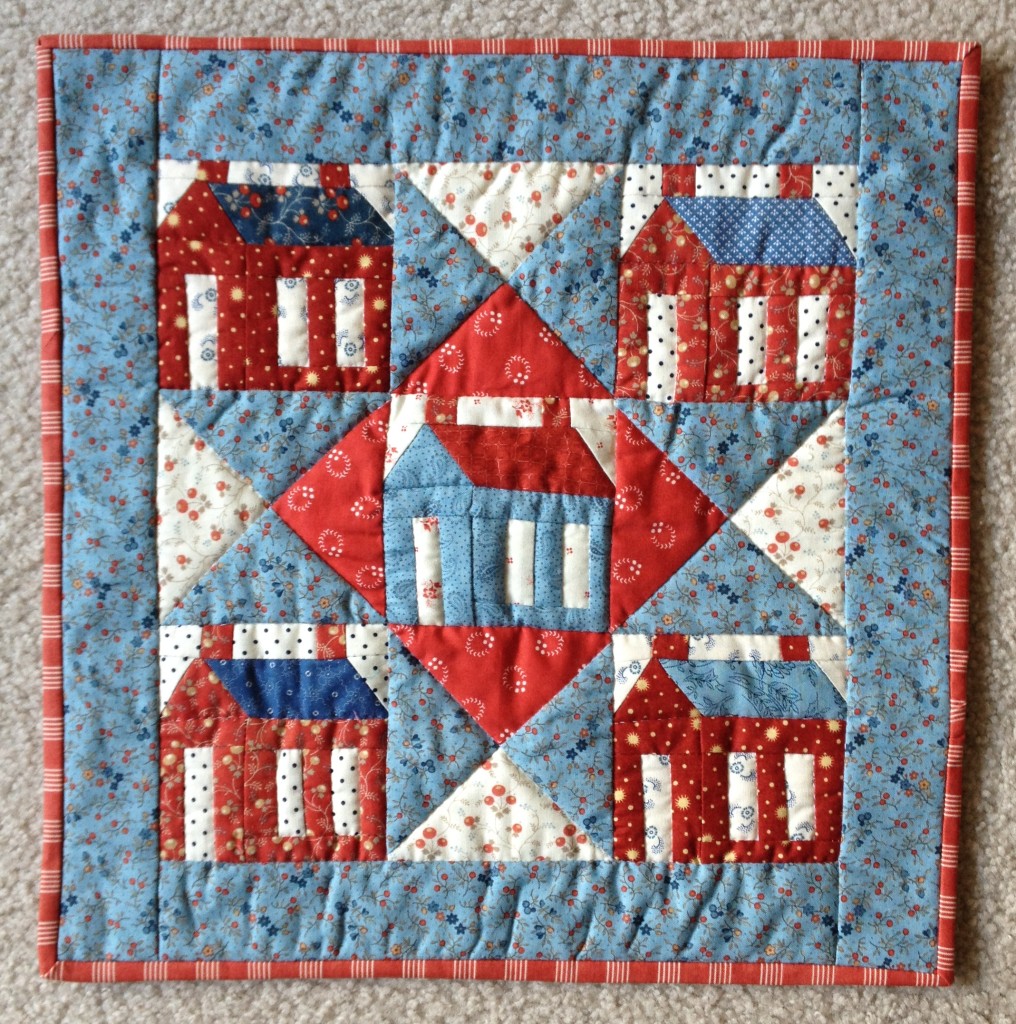
I started the hand-quilting on the spaceship quilt and managed two finishes last week. The first is a Schoolhouse tabletopper. It was the first project of 2015 with my quilting partner, ShaRee. She has a book with a zillion table topper patterns and keeps talking about wanting to make some. Our local quilt shop had kits of this one so I gave her one for Christmas and got one for me so we could work on it together in January and February. She is a retired kindergarten teacher so it’s apropos. The piecing was SMALL so we learned some stuff. I hand-quilted in the ditch around all squares and most elements.
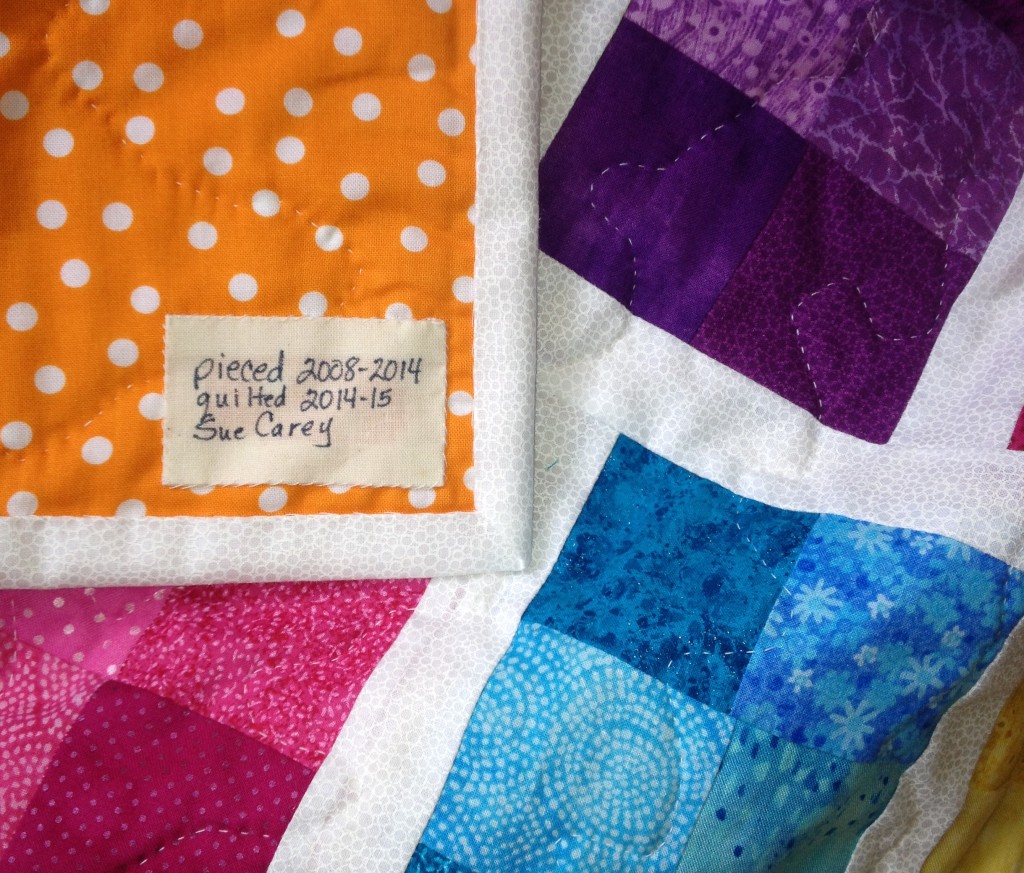
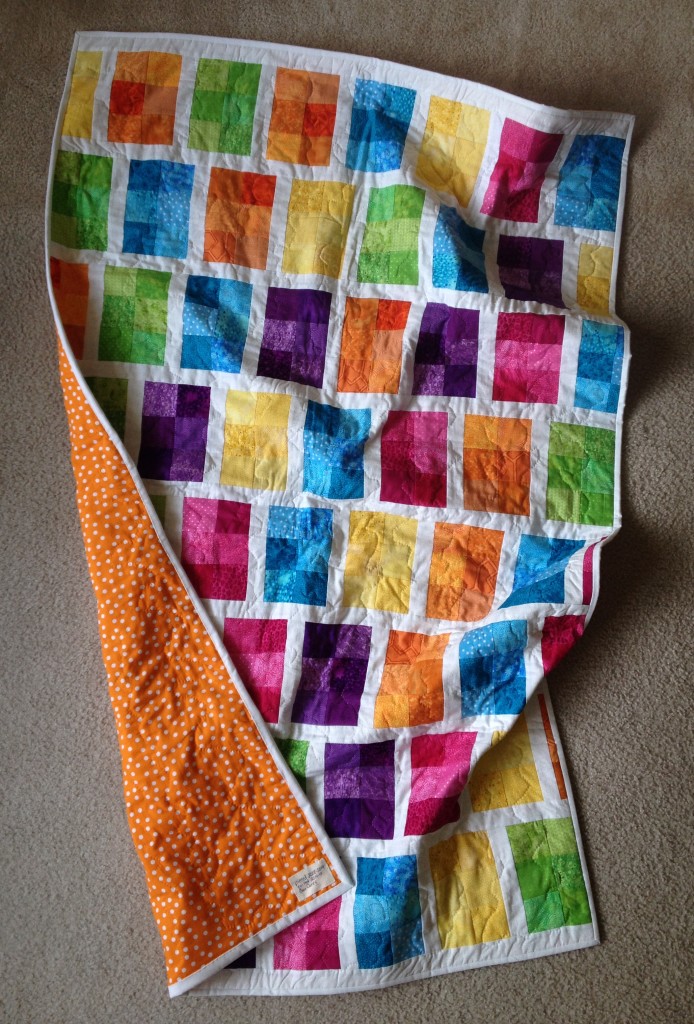
I also finally finished hand-quilting and binding on the Candy Shop quilt. The pattern came from “American Patchwork & Quilting” Issue 79 April 2006 p. 70. This quilt has quite the provenance. I began purchasing fabric in 2008 after my first quilt. Not knowing that 100% cotton fabric isn’t all made the same, it has a variety of fabrics from many manufactures, some of which are of dubious quality, causing stretching and wonkiness. I slowly cut and pieced the blocks here and there until finally last year I decided to get it off my plate. I hand-quilted it with an all-over random swirly no-pattern free-form thing I usually do. I trimmed the sides harshly to make it come out straight and unpicked and re-sewed parts of the binding four times to make it look mostly straight and finally decided it was as good as it was going to get. I’m not thrilled but it’s not too bad and still a fun quilt. Maybe someday I’ll make it again with quality fabrics. Sounds like a good scrap quilt.
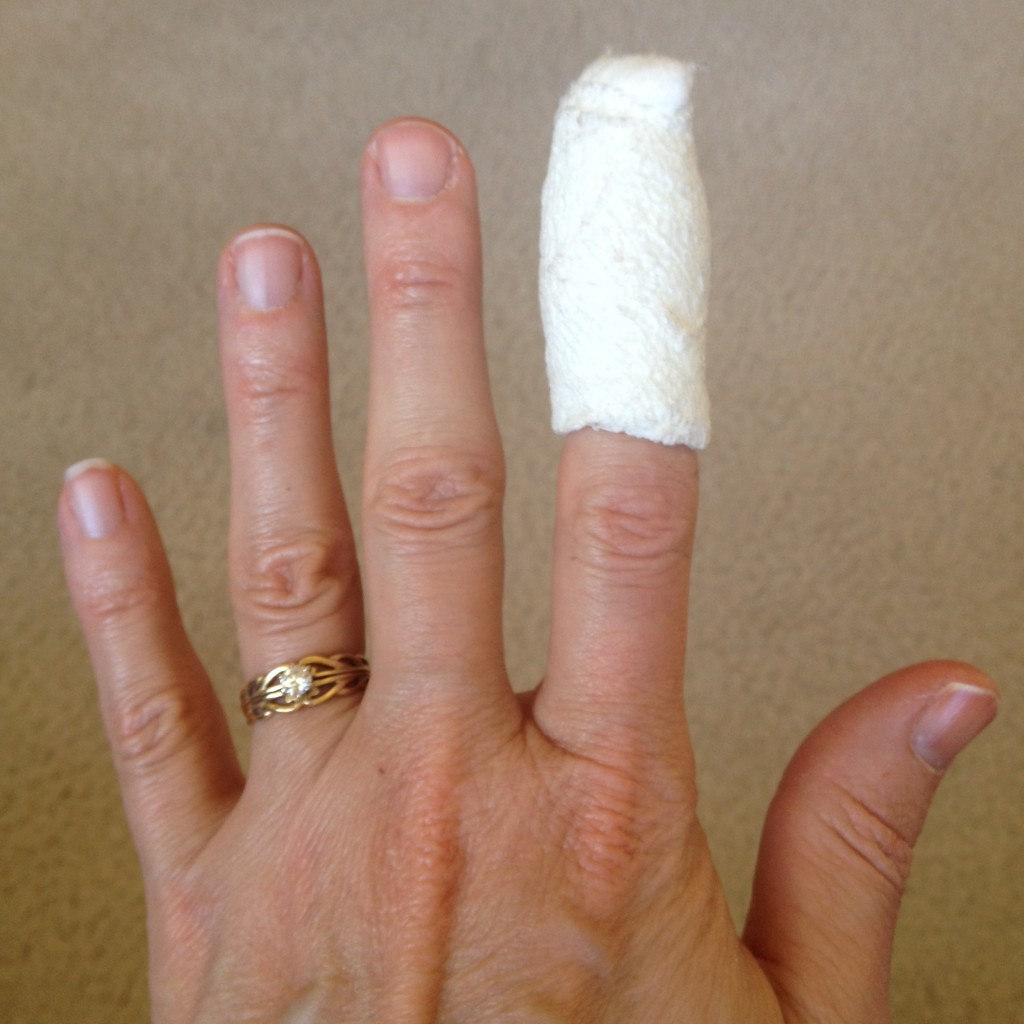
Now for the accident portion of the post. After thirty years of sewing I put the sewing machine needle into my index finger on Friday afternoon. Are you kidding me? I was piecing a quilt top and pushing the fabric through and somehow, although I’m not sure exactly how, I pushed my left index finger up under the foot. The needle went into my fingernail and sliced through the end of my fingertip. I managed to save the quilt top and the carpet from the spurting blood. Yay! Got the bleeding stopped and had my nurse friend look at it and help me with how to care for it.
First quarter 2015
I’ve been busy so far this year working on my One Little Word, EMBRACE. I spent all of February focusing on re-lighting my love of scrapbooking by participating in an annual event I’ve wanted to do for several years called LOAD. The purpose is to create a layout a day for each day of February. The overarching theme was Once Upon a Time and our connection with books, and each day the host, Lain Ehmann, gave a different prompt that we could use for our layout. These included design principles, color combinations, or a topic sentence, all from beloved children’s books. I managed to do a layout all 28 days of the month and I had so much fun. My output has slowed down in March, but I’m still working.
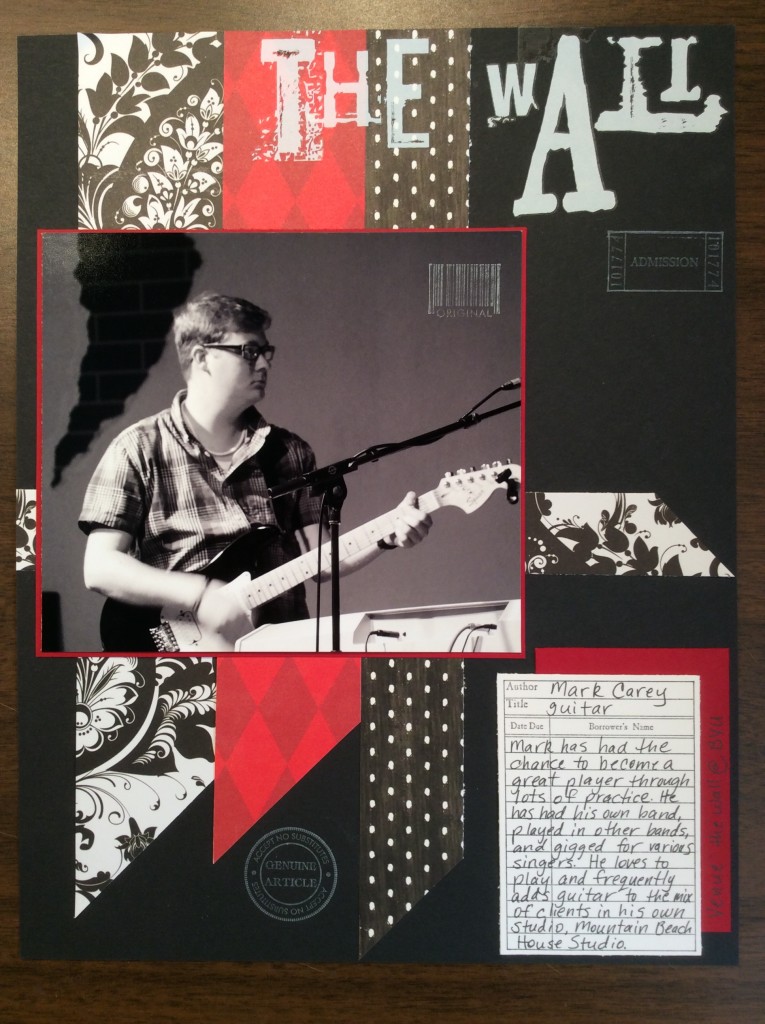
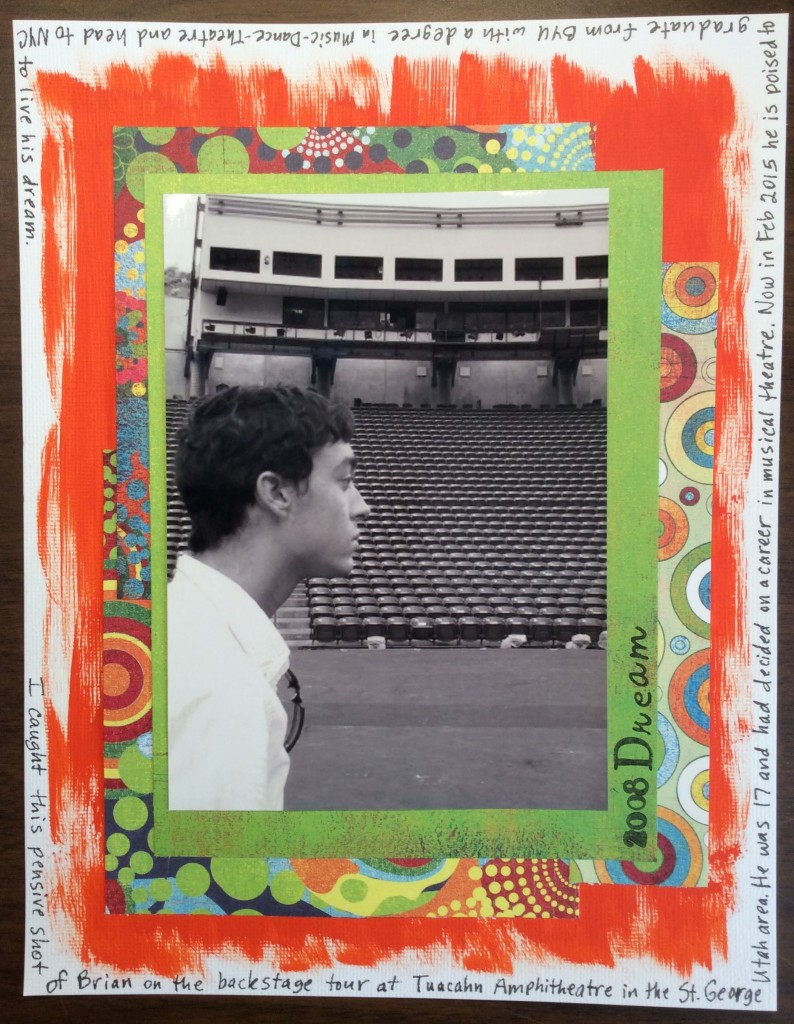
I did a layout showing the entire month’s work, which included a few extra layouts on some days for a total of 34. I count two-page layouts as one layout. Because I mostly stayed with the daily prompts, I had to do some layouts about me, which is a first, and also not chronological, which was fun and very freeing.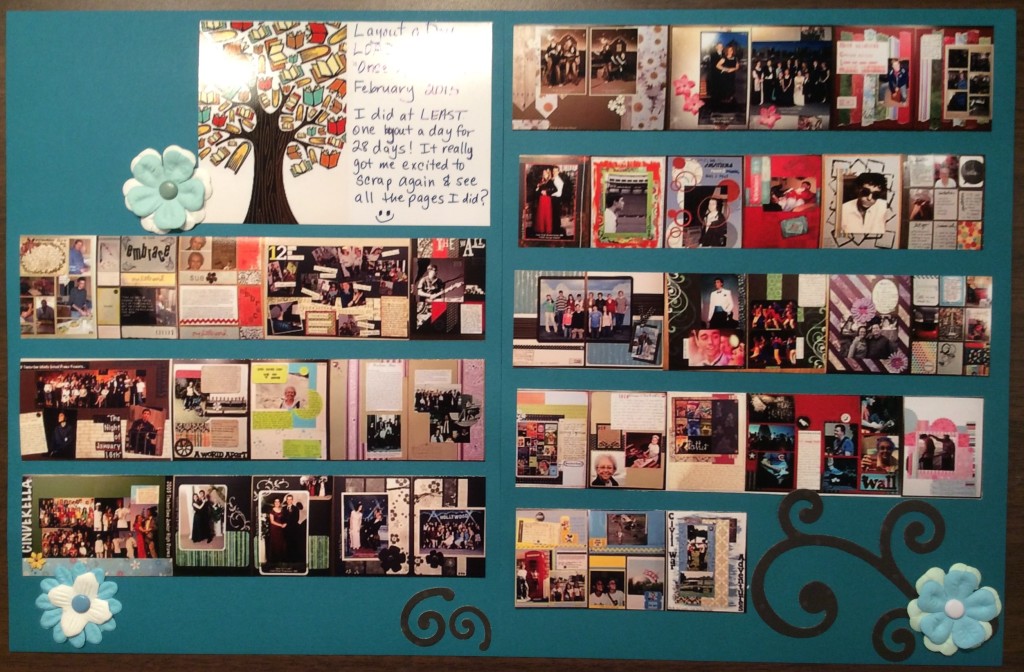 Here are my two favs from the month, both of which were color prompts:
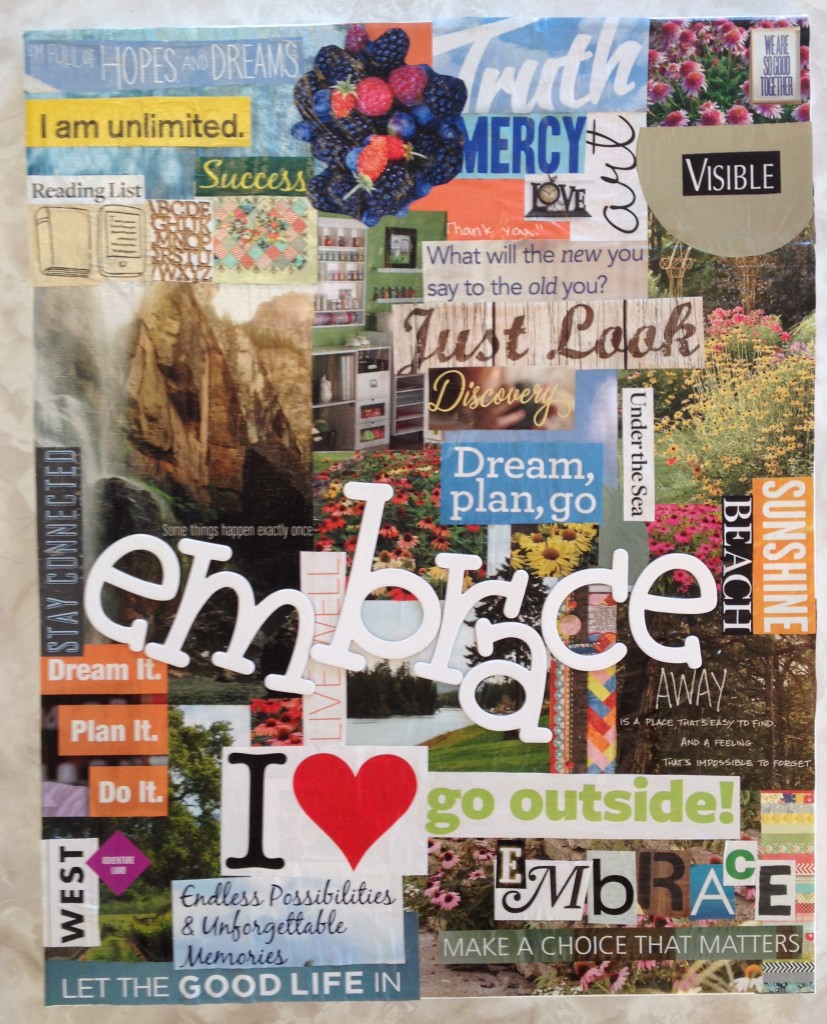
 This year I also signed up for Ali Edwards’ One Little Word class which gives monthly activities to help keep our word visible and in use in our lives. I did the prompt for January which involved a lot of reflecting and making goals and got those all in my album but haven’t finished some of the daily life pictures from January and none from February or March. Need to add those pages to the album in the second quarter. February’s prompt was to make a vision board and I had so much fun cutting up magazines and gluing that all together. It’s now hanging in my sewing room.
I’ve been doing some sewing, too. My new threesome quilt group is doing a 1930’s quilt this year and have several blocks done and I’ve posted about those already. My regular twosome quilt group made a Schoolhouse table topper that needs to be hand-quilted as soon as I finish the Candy Shop quilt, which is almost done. We are now working on an Arrowhead quilt, but it’s a secret project so I’m not posting much for now. But it’s looking mighty awesome so far. Other projects in the works include the following:
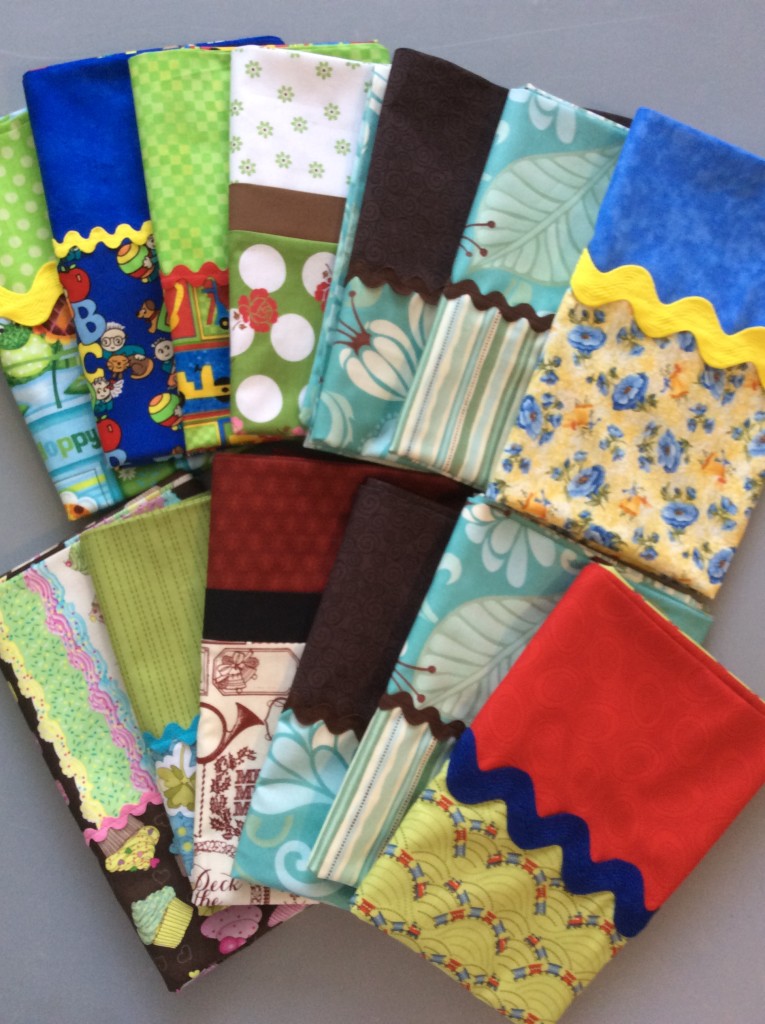
I’ve spent a fair amount of time getting some pillowcases sewn up for the Festival of Trees gift boutique in December. Some of this fabric has been waiting around for two years for me to get it done, so I thought this was the year to get them all sewed up and off my plate. They turned into thirteen lovely pillowcases.
I’ve only been out in the garden once so far this spring and it looks like it needs some major cleaning up. But Scott and I were asked to be in charge of a youth play at church and since I wrote it and am directing it, it’s taken up a ton of time this quarter. I have to spend a lot of time planning and organizing in order to utilize the limited rehearsal time and make it all seem effortless. The performances are this week and I will get some time and energy back.
We’ve also spent a lot of time discussing, planning, and researching the possible addition to our home and it’s amazing how time-consuming that’s been with very little actual progress to show for it. But lots of knowledge in our heads.
As part of my One Little Word this year, I made a list of things to get done. I’m working away on the list and crossing stuff off which is making me happy. Organizing my quilt patterns, cleaning up my scrapping studio, reading some magazines then moving them out, and reading books for my reading challenges. I’ve kept up with the two that have monthly goals and made progress on the others, and I’m eleven books ahead of schedule on my goodreads annual challenge of 104 books/year. Plus my dishwasher has been broken for most of the quarter and I’m washing dishes by hand, which takes time but lets me listen to audio books. Trade-off.
Here’s to the second quarter of 2015: may it be productive. EMBRACE the future!
